Looking for some fun crafts to do with your kiddos? These easy DIY bath products for kids are perfect for preschoolers to teens. Simple inexpensive recipes!
If you find yourself working from home while also trying to entertain kids, without the benefit of school, outings, sports practice, and other activities to keep them occupied, my thoughts are with you, Mama. These easy DIY bath products for kids will help with that!
Take it from an experienced homeschooling-the-kids-while-simultaneously-working-from-home mom (yes, I actually chose to do this, long before a global pandemic made it the reality for most families) keeping those kiddos busy is going to save your bacon.
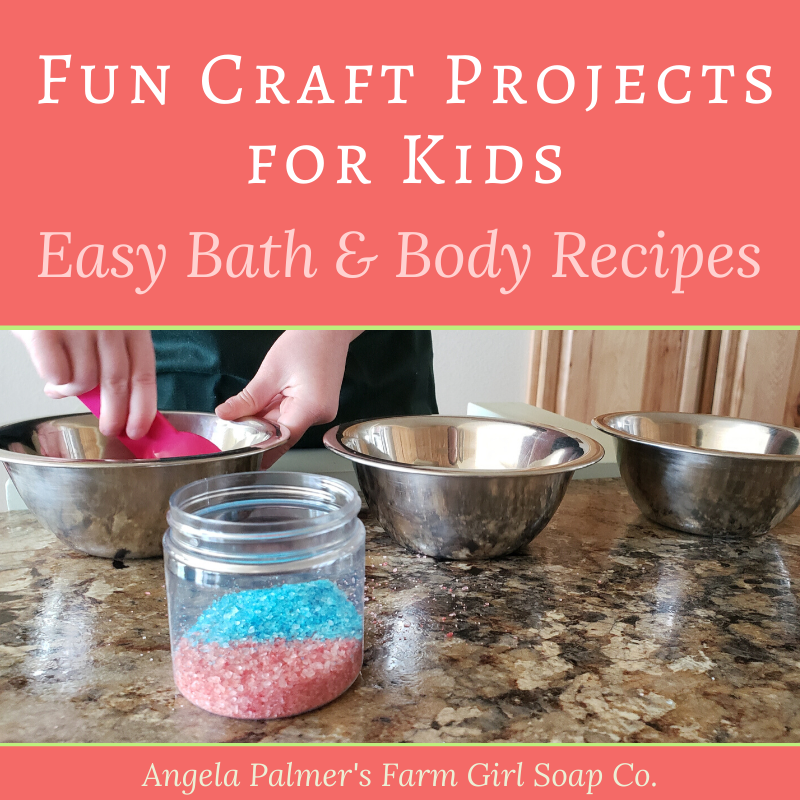
So, I’ve created some simple and fun bath and body crafts that kids can make to help pass the time stuck at home. These are the same recipes my young students, moms, and I make in my Mommy-and-Me crafting classes, and are formulated to be gentle on kids’ delicate skin.
After they’re done crafting they can hop in the tub and use their new creations, while also buying you some extra time to get some work done. I’ve spent many hours hammering away on a laptop, perched on a stool in the bathroom, while my young ones played in the bathtub. Desperate times, Mama!
And, because I want to encourage you take some time for yourself too, I’ve included links to “grown up” variations of the kids recipes below.
Educational Benefits of Making These Easy DIY Bath Products for Kids
Take it from an experienced home schooling mom, your kids don’t need to be sitting behind a desk with a chalkboard in front of them to be learning. Kids are learning all the time!

So, even though these DIY bath and body crafts are fun, they also introduce your kids to new concepts, or give them the ability to practice and solidify these concepts in real world situations.
- Scooping, pouring, and stirring = Hand-eye coordination and fine motor skills
- Measuring ingredients = Fractions (for older children), counting and number recognition (for younger children), and domestic sciences (or what we use to call home economics.)
- Mixing colors = Color recognition for younger children, art education and critical thinking for older children
With young children, you can do the measuring and let them pour the ingredients into the bowls. Ask them to count drops as you add colorant, and identify colors as they stir. Older kids can measure themselves. Talk about fractions, and parts of a whole.
Have your child practice mixing different colors into one bowl. For example, ask them, “What two colors blend to make green? What would happen if you mix blue and red?”
Pin to save!
Tips Before Getting Started
I’ve made DIY skin care crafts with kids for years, in classes and workshops, with Girl Scout troupes, church and home school groups, and even at my kids’ sleepover parties at my own home. So, I’ve amassed some tips that will help make crafting these projects fun for the kids and the parents.
1. Cover your table or countertops with butcher paper, newspaper, or brown paper bags
Kids will make a mess while making these projects (consider yourself warned!) But that’s part of the fun, and part of the reason why these projects will keep your kids occupied.
Before you begin, cover the entire workspace with paper and tape down the edges with scotch tape to hold it in place. This makes clean up super easy.
2. Dress your kids in clothes you don’t mind getting messy
Oils and food coloring can stain, and your kids will most likely end up getting some of these ingredients on their clothing. Dress your kids in “play clothes,” have them throw on a smock, or my personal favorite for the littles: strip them to underpants and let them go wild.
3. Let them be creative, even if they aren’t following the recipe
Adults, I’ve found, love to follow step-by-step instructions. Kids, not so much. The fastest way to turn this project into a frustrating battle is to insist the kids follow the recipe exactly.
Once you’ve set out the ingredients and given them a synopsis on how to make the product, step back and let the kids do their thing.
So what if they mix eight colors and create a funky shade of brown? Who cares if they don’t make perfect layers or create odd combinations?
The goal is not to have a Pinterest-worthy end result, but to let your kids get creative and buy you some needed downtime as the youngsters are busy.

4. Food coloring won’t stain the tub (or your kids) when it’s used in a bath product
All of the recipes below use food coloring to color the products, because they’re inexpensive, easy to find, and easier for kids to work with than professional-quality skin care dyes.
But don’t worry, Mom, when used within the guidelines below the food coloring in your kids’ finished products won’t stain your tub or their skin. It will color bathwater, though, which most kids find amazingly fun!
Ready to get crafting some easy DIY bath products for kids?
This post contains affiliate links. As an Amazon Associate I earn from qualifying purchases. This means I may receive a small commission—at no extra cost to you—from any sales made through these links. I only recommend products that I personally use and love! View my affiliate disclosure.

Unicorn Bath Salts Recipe
Recommended ages: Preschoolers to age 7 with help; older kids and preteens can tackle this project on their own.
This recipe is hands-down the most popular among my young students, from preschoolers to teens. They’re so easy to make, need only a few inexpensive ingredients that you probably have on hand already, and kids can really go wild with colors and blending.
The finished salts color the bathwater so kids are always super excited to jump in the tub.
Here’s what you’ll need per child/project:
- 1 cup Epsom salts or sea salt, divided
- Food coloring (you can use natural food coloring for this project too)
- 4 small bowls
- 8 ounce size jar (these jars with hinged lids are super cute) or clear plastic container with lid
Step 1: Divide the salt between the 4 bowls, putting 1/4 cup of salt in each.
Step 2: Color the salt in each bowl a different color by adding 2-5 drops of food coloring. Stir well until the color is well mixed.

Step 3: Using a spoon, scoop the colored salt from the bowls and place them into the jar. Let the kids get creative; there’s no right or wrong way to do this.
To use: Add several tablespoons bath salts to warm bath water. Let the kids soak and splash away!
Shelf life: Approximately 12 months
Variation on this recipe for Mama: Lavender and Sweet Orange Bath Salts use the same basic ingredients as your kids’ bath salts, but we kick it up a notch with stress-relieving lavender essential oil and mood-boosting sweet orange essential oil. Perfect for these uneasy days, right?

Fizzy Bath Powder Recipe for Kids
Recommended ages: Preschool to age 7 with help; older kids can work independently with little supervision.
This bath soak fizzes when it hits the water, similar to a bath bomb. But because you’re not forming it into molds, it’s ultra simple for kids to make.
Just like with the unicorn bath salts, this fizz will color the bath water but won’t stain your tub or your kids.
Here’s what you’ll need per child/project:
- 1/2 cup powdered milk
- 1/4 cup baking soda
- 1/4 cup citric acid
- Food coloring
- 8 ounce sized jar with lid or clear plastic container with lid
Step 1: In a bowl, measure out powdered milk, baking soda, and citric acid. Mix until well blended.
Step 2: Add 10 to 20 drops food coloring to this mixture and stir well (the powder will fizz a bit as you do this, it’s OK.) Continue stirring until the color is completely incorporated.
Variation: Older kids may like to make rainbow bath fizz. Prior to coloring, measure the fizz mixture into 2, 3, or 4 separate bowls (depending on how many different colors you’d like to make. Add 2 to 10 drops to each individual bowl and stir until well blended.
Step 3: Spoon the fizz mixture into a half pint sized mason jar (or similar sized container). If you have several different colors, kids can layer them as desired.

To use: Pour 2 to 4 tablespoons bath fizz into warm bath water.
Shelf life: Bath fizz will last 12 months on the shelf, provided it is kept tightly lidded when not in use.
Variation on this recipe for Mama: Lavender and Honey bath milk recipe won’t fizz, but it will leave your skin incredibly silky smooth. Milk gently exfoliates, while honey powder soothes and moisturizes. And, of course, lavender is supremely relaxing.
If you’re feeling a bit more adventurous, you can craft a decidedly grown-up version of a bath bomb. This Raspberry Truffle bath bomb recipe looks as good as it smells, and is an incredible way to treat yourself.

Melt and Pour Soap Recipe for Kids
Recommended ages: 5 to 10 year olds with adult help; kids 11 and older can do this project fairly independently, but should have some supervision with using the stove.
Another big hit with the kids, soap is a fun project that is useful too. Melt and pour soap base can be bought at your local craft store, or ordered from soap making suppliers or Amazon.
If you’ve never made melt and pour soap before, you can get my Farm Girl’s Quickstart Guide to Making Soap Without Lye. This will give you a simple crash course in making melt and pour soap. Pop your name and email into the form below and I’ll send it to your inbox right away.
Here’s what you’ll need for 8 bars of soap:
- 2 lbs. clear melt and pour soap base
- Food coloring
- Optional: Dried herbs, dried flower petals, oats
- Silicone muffin cups or tray (fun shapes a bonus! Your kids can get super creative with this mold set of flowers, stars, hearts, and more) or silicon bar soap mold like this one
Step 1: Cut the soap base into approximately 1 inch pieces. No need to be neat about it. Older kids can handle this; adults should do the cutting for younger children but they can toss the soap base pieces into a pot.
Step 2: Place the pot of soap base on the stove and heat on low until the base is completely melted.
Step 3: Measure out about 1/4 to 1/2 cup soap base into a small bowl, depending on the size of your individual molds. Add 5 to 10 drops of food coloring and stir until blended. (If the soap base thickens too much, you can pop it into the microwave for 10 to 15 seconds to remelt.)
Tip: Prior to crafting, you can measure how much your soap mold cavity will hold by filling it with water. You can use this lesson to teach volume!
Step 4: Pour the soap into a mold. Sprinkle the top with dried herbs or oats, if desired.
Step 5: Let set undisturbed for several hours or overnight.
Step 6: Remove from mold. Your soap is ready to use right away!
Shelf life: Soap will easily last 12 months or longer. Keep it tightly wrapped in plastic wrap or cellophane to store.
Variation on this recipe for Mama: You can definitely make some soap with the ingredients above, but if you’d like to kick it up a notch, the Oatmeal and Honey Goat Milk Soap and Chamomile Shea Butter Soap are lovely.
You will also get lots of tips and instructions on how to customize your very own soap bars in the Quickstart Guide to Making Soap Without Lye, so do be sure to sign up for that one.

DIY Lip Balm Recipe for Kids
Recommended ages: This project is most appropriate for kids ages 10 and older. Teens can tackle this on their own, but young tweens will need help.
Although it’s tempting to try adding baking extracts (like vanilla or orange), food coloring, or honey to your DIY lip balm, these ingredients are water-soluble so they won’t mix into your lip balm base or will quickly separate out, so they’re best avoided.
Here’s what you’ll need per 6 lip balms:
- 1 tablespoon white beeswax pellets
- 2 tablespoons sunflower oil
- Optional: Lip balm flavor oil (Wholesale Supplies Plus has sampler sets that I completely adore) OR lip-safe essential oil (peppermint, spearmint, lavender, and vanilla are all good choices)
- Optional: Lip balm colorant (not soap colorant or food coloring) OR lip-safe mica
- Lip balm tubes or lip balm pots
Step 1: Measure out beeswax and sunflower oil into a small heat-safe bowl or container. A small glass measuring cup with spout is perfect for this and makes filling tubes a breeze, but four ounce sized mason jars also work.
Step 2: Place this container into a small saucepan filled with a half-inch or so of water, to make small bain marie. Heat on low until beeswax is completely melted. Remove from heat, but take care as the jar or bowl will be HOT.

Step 3: Add lip balm colorant and stir until you get desired color.
Step 4: Add up to 15 drops lip balm flavor oil or essential oil. Stir.
Step 5: Carefully pour into tubes or pots.
Step 6: Let set undisturbed for several hours, until lip balm is completely cooled. Your balm is now ready to use!
Shelf life: About 8 months
Variation on this recipe for Mama: You know you want some of this yummy lip balm for you too! Have fun making a batch for along with your kids, no need for a different recipe.


